-
Dairy Free
-
Gluten Free
-
Nut Free
-
Vegan
-
Vegetarian
Homemade Canned Dill Pickles
The perfect crunch in every bite, homemade canned dill pickles always make a meal a delicious one. Whether you’re snacking on some crunchy pickles or serving them with a meal, they are the perfect addition anywhere.
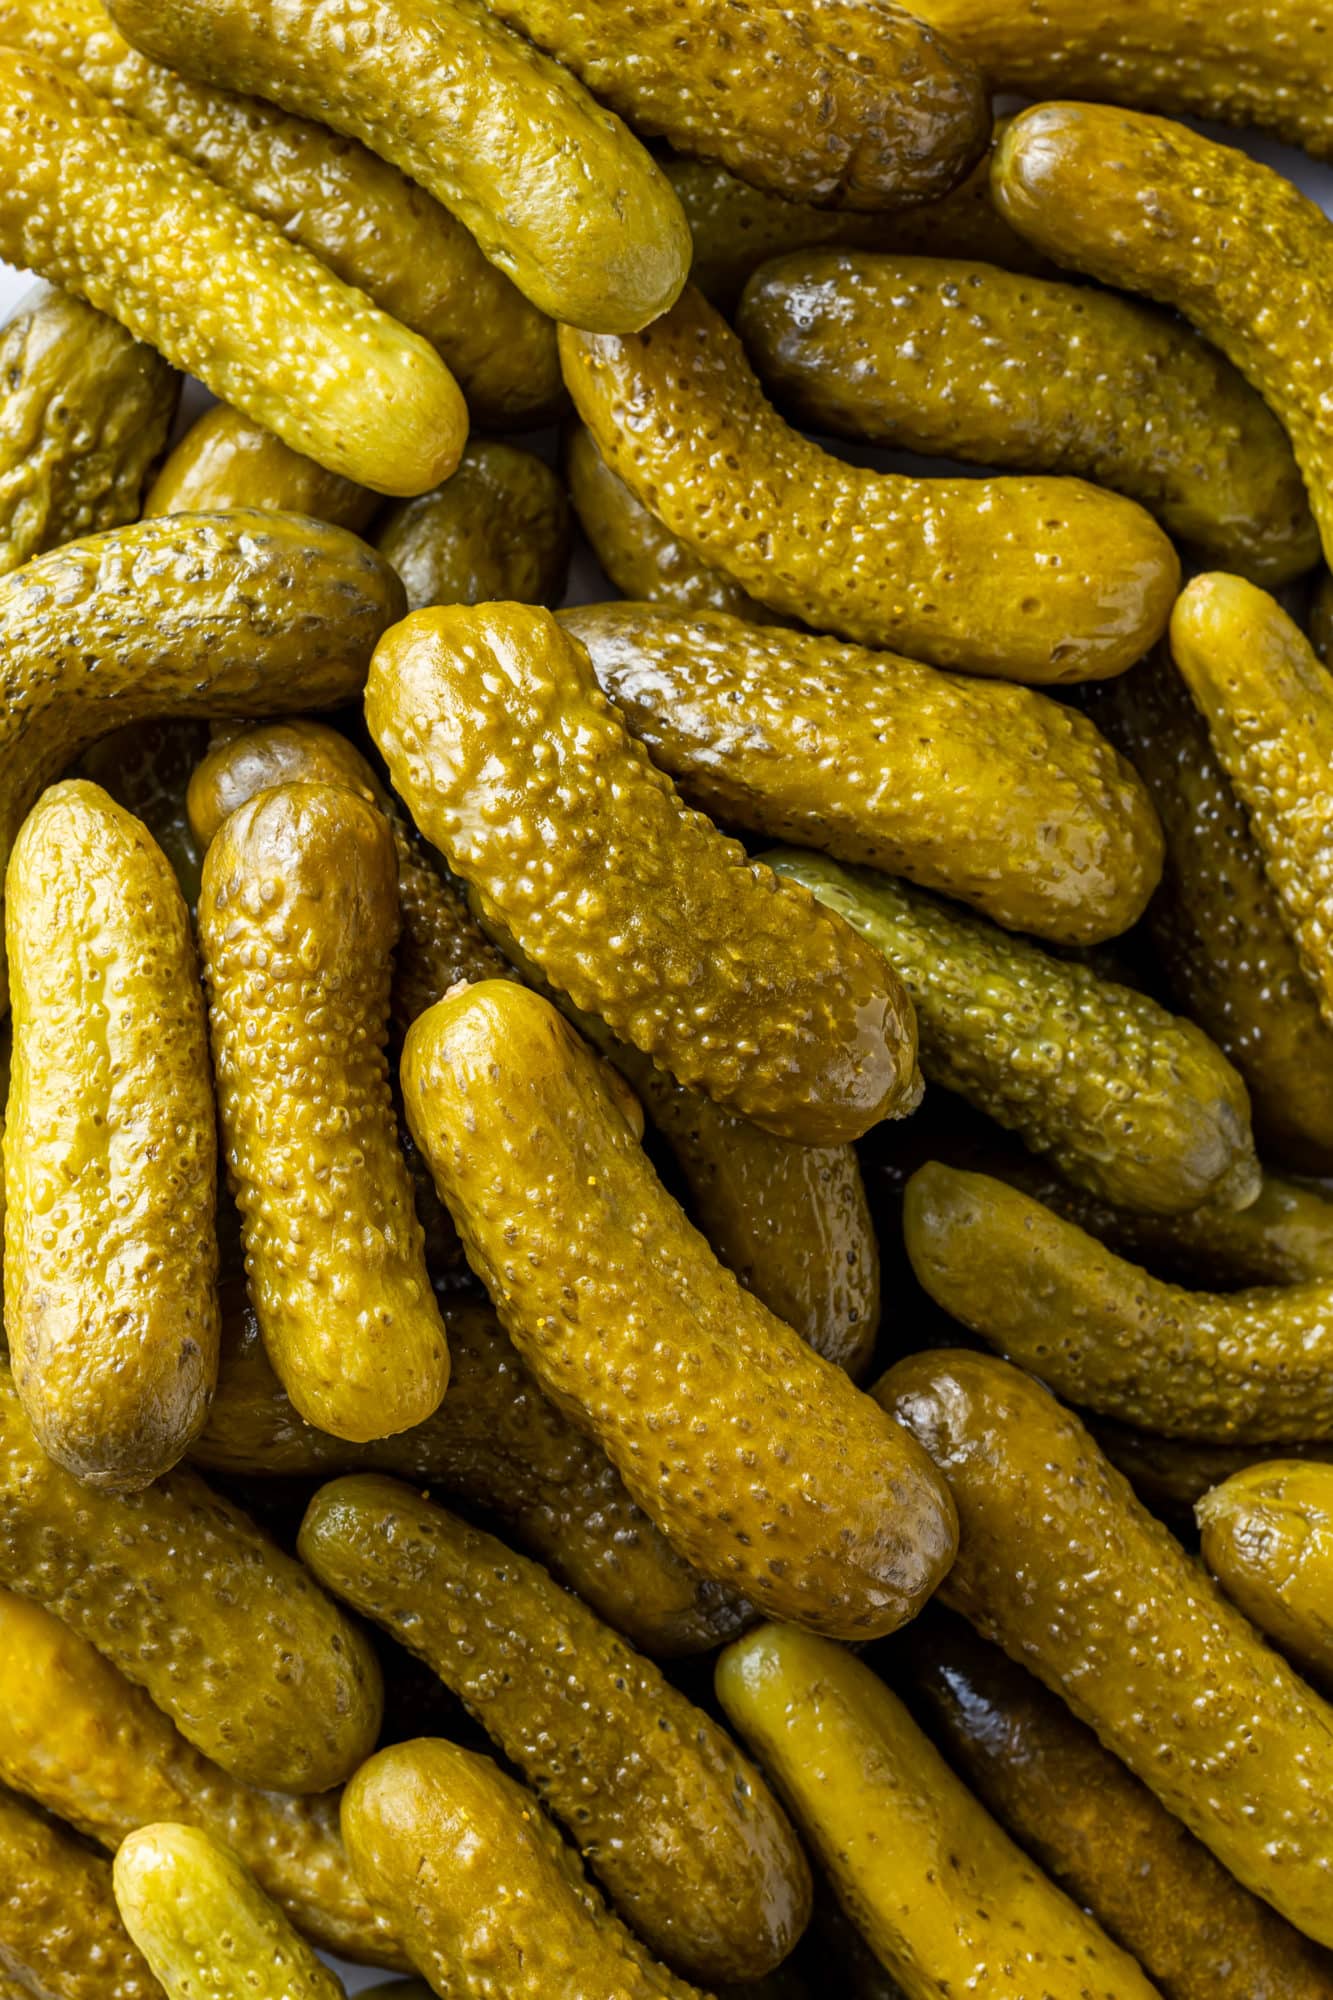
Canning pickles or any home canning at all is super simple. It’s as easy as fresh cucumbers, simple, easily accessible ingredients, and minimal measuring. As long as one or two of each ingredient is in each pickle jar, you’re good to go.
Once dinner is over and you’ve enjoyed something sweet, do you go back to wanting a taste of something savory again? If you’re worried about overeating or stuffing yourself, grab a fork and enjoy these homemade dill pickles. One or two, however many you want. They’re light, savory, and so perfectly salty.
First, you’ll prep the jars with an easy step for the canning process:
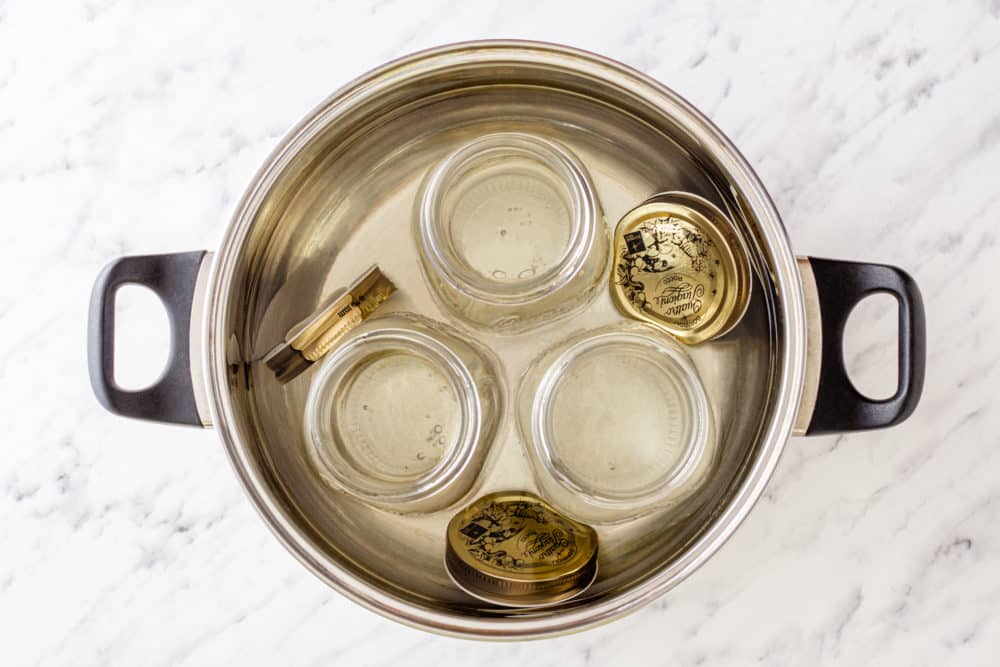
The first thing that I always do before canning is to boil the jars and the lids. This hot water bath process loosens jar lids. This way when they cool, they’ll tighten onto the jar over time.
The hot jars themselves are cleaned wholly by the boiling process. This adds only 10 minutes to the processing time and is a simple step that everyone has the supplies for.
Speaking of supplies, here’s what you’ll need before you gather your ingredients:
Three jars, 500mL each to fit each ingredient, the cucumbers, and the vinegar brine.
A large pot with a lid to boil the jars and their lids in.
A wire rack for boiling once more.
Crisp pickles always turn out when you make this recipe right. Any air bubbles in the jars will disappear and the center of the lid will pop down over time. So when you find these in your pantry, you can open the jar like it’s brand new and munch on some crunchy dill pickles.
Homemade dill pickles > store bought dill pickles, and here’s why:
These easy dill pickles are ones that I’d munch on any day. Store bought pickles do not rent space in my pantry. At the grocery store, so many jars have a large list of ingredients with preservatives, additives, and “natural flavors”. And worst of all, yellow food coloring.
Why wash out the natural shade of a pickle? Why should it be yellow when pickled? That’s largely unnatural. Pickle recipes like this one are easy to make. This way, you know what you’re putting into your body and how good it is.
You’ll need dill stems, with… flowers?
That’s right! A dill seed not only makes for tasty stems, but also flowers! These sweet little flowers may not actually taste sweet, but they’re too cute.
Along with dill stems, the fresh dill heads add to the dill pickle flavor that’s classic and well loved. Homemade pickles always trumps store bought, and natural, garden grown dill is one of the many ingredients. It makes the canning process turn out the most delicious jars of pickles.
Key Ingredients:

Cucumbers naturally are what makes pickles, of course! You’ll need 3 lbs small cucumbers.
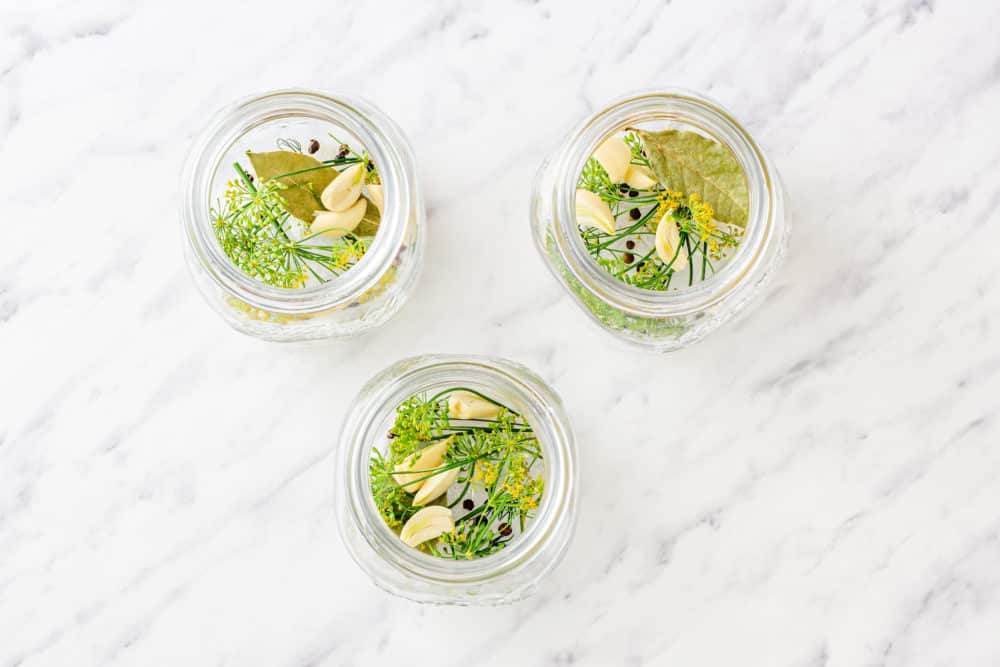
Peppercorn, bay leaves, dill stems, and garlic all add flavor and spice to the pickles.
Water and distilled white vinegar are always necessary for pickling.
Sugar and pickling salt add the perfect touch of sweetness and the perfect salty touch to these whole pickles.
Find the full printable recipe with specific measurements below.
How to make Homemade Canned Dill Pickles
Step 1: Boil jars
In a large pot, place jars and lids, add water, and bring to a boil. Lower the heat, cover with a lid and simmer for 10 minutes.

Step 2: Divide ingredients
Divide the bay leaves, peppercorn, garlic cloves, and dill stem and put them on the bottom of 3 jars.

Step 3: Add cucumbers
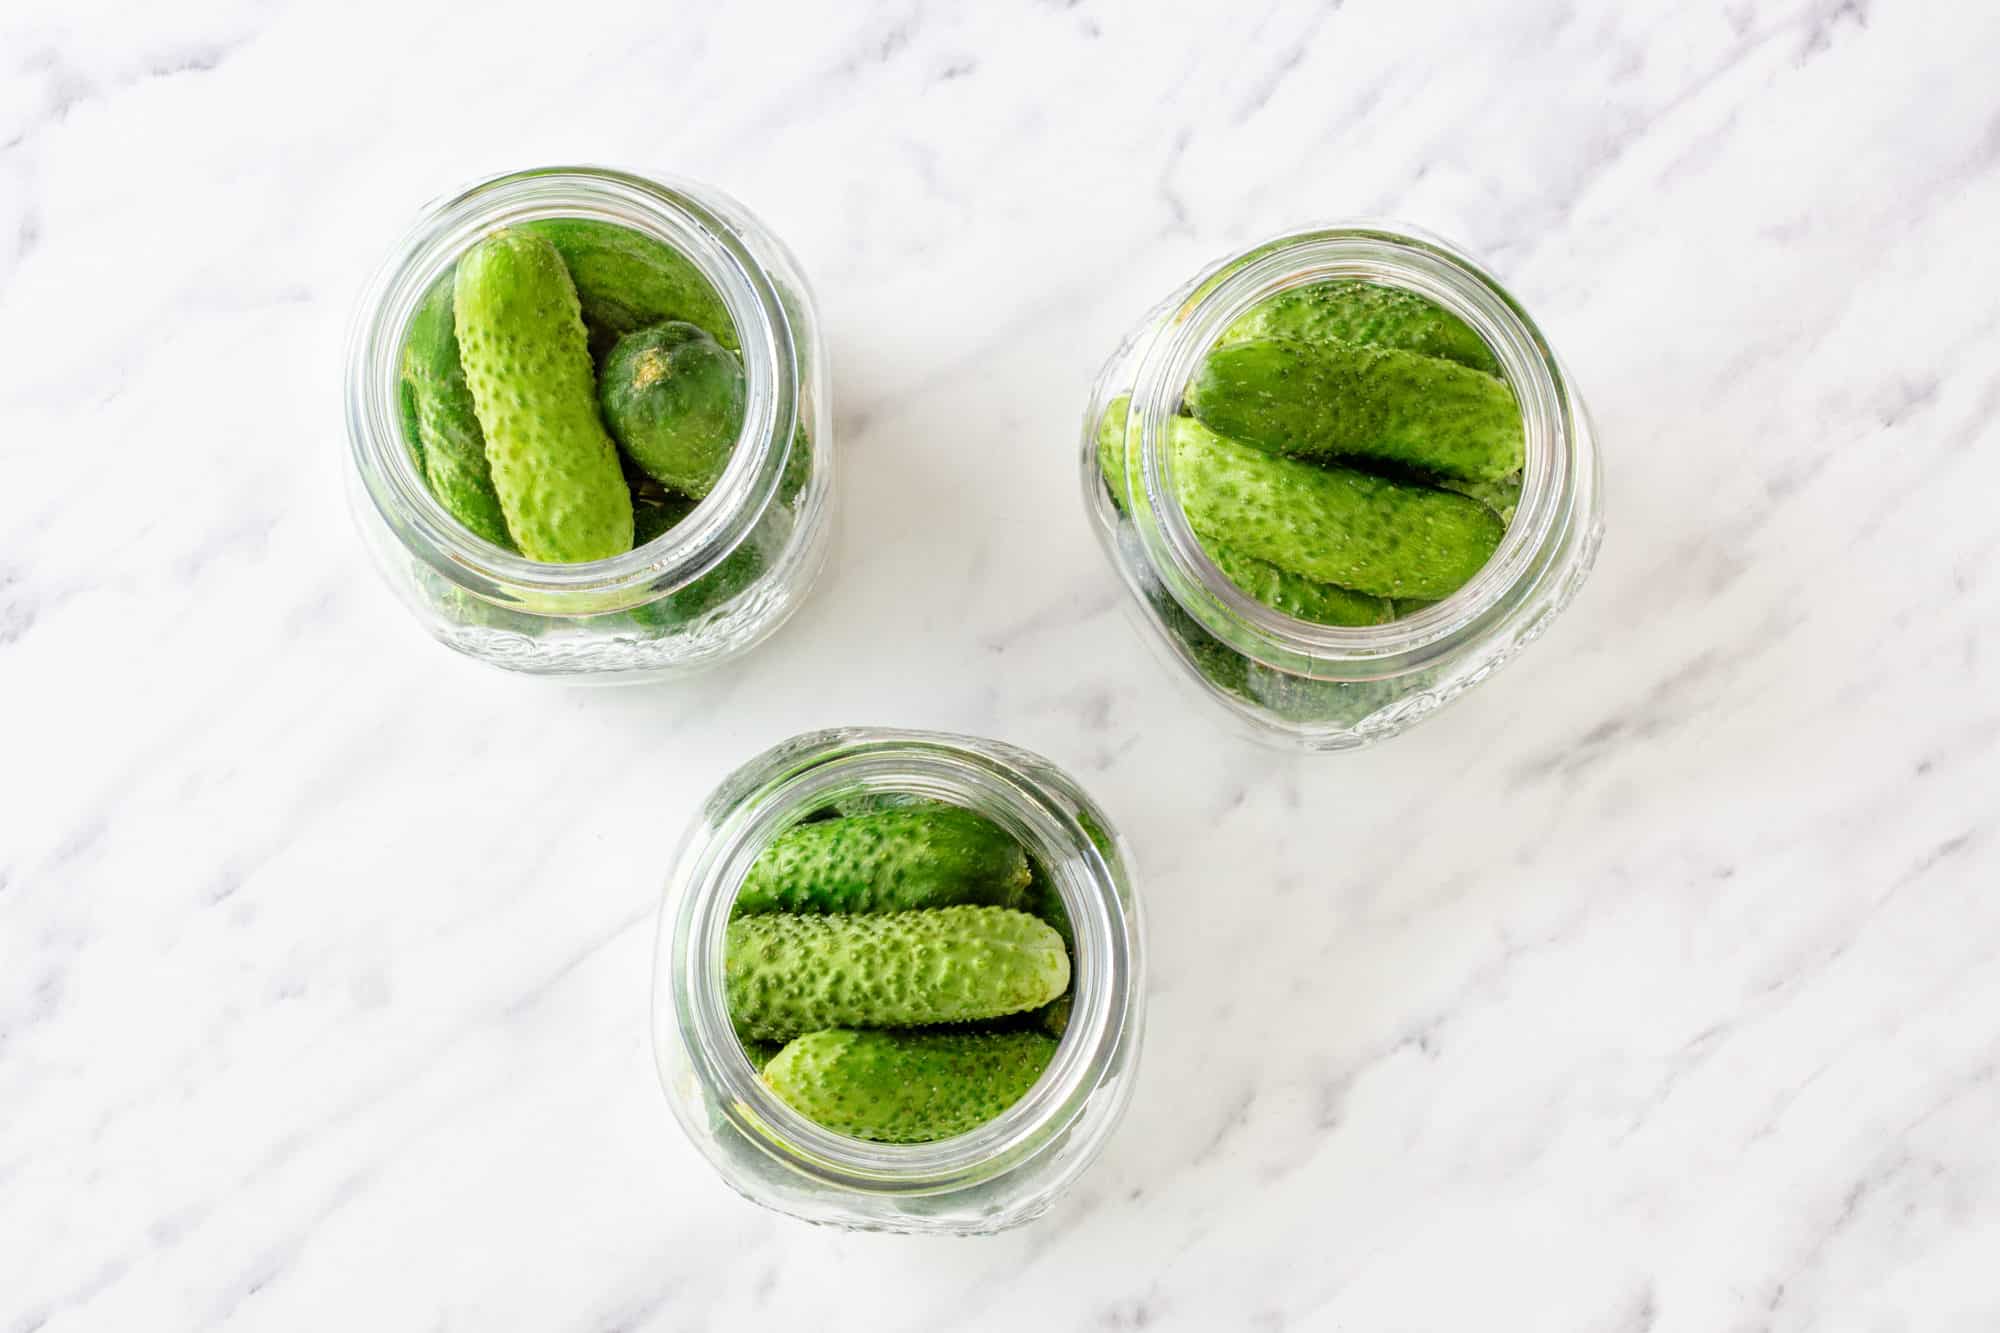
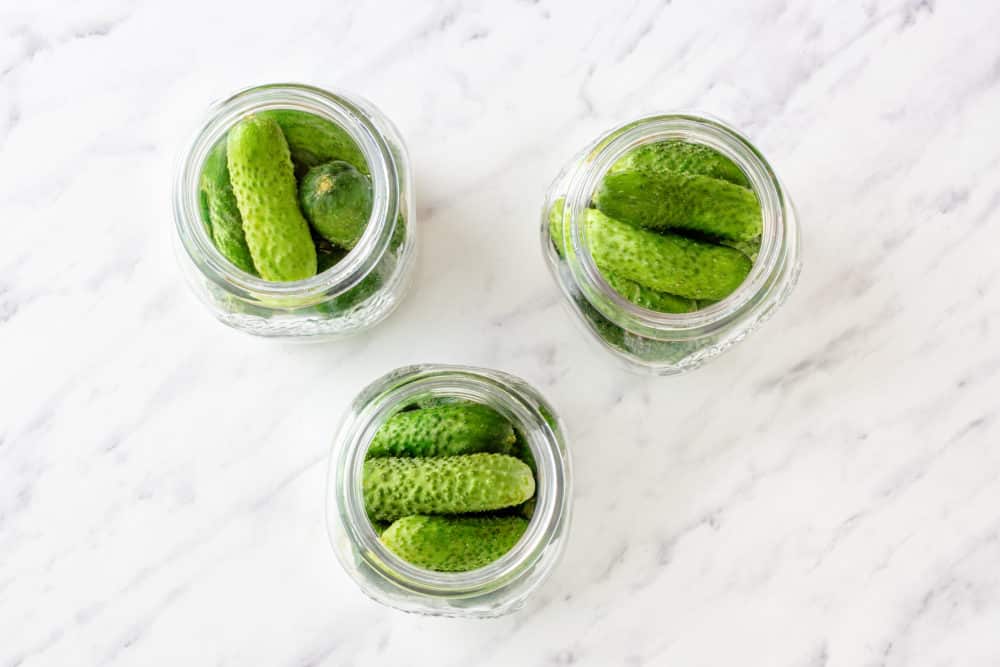
Place cucumbers into the jars.
Step 4: Add pickling liquid
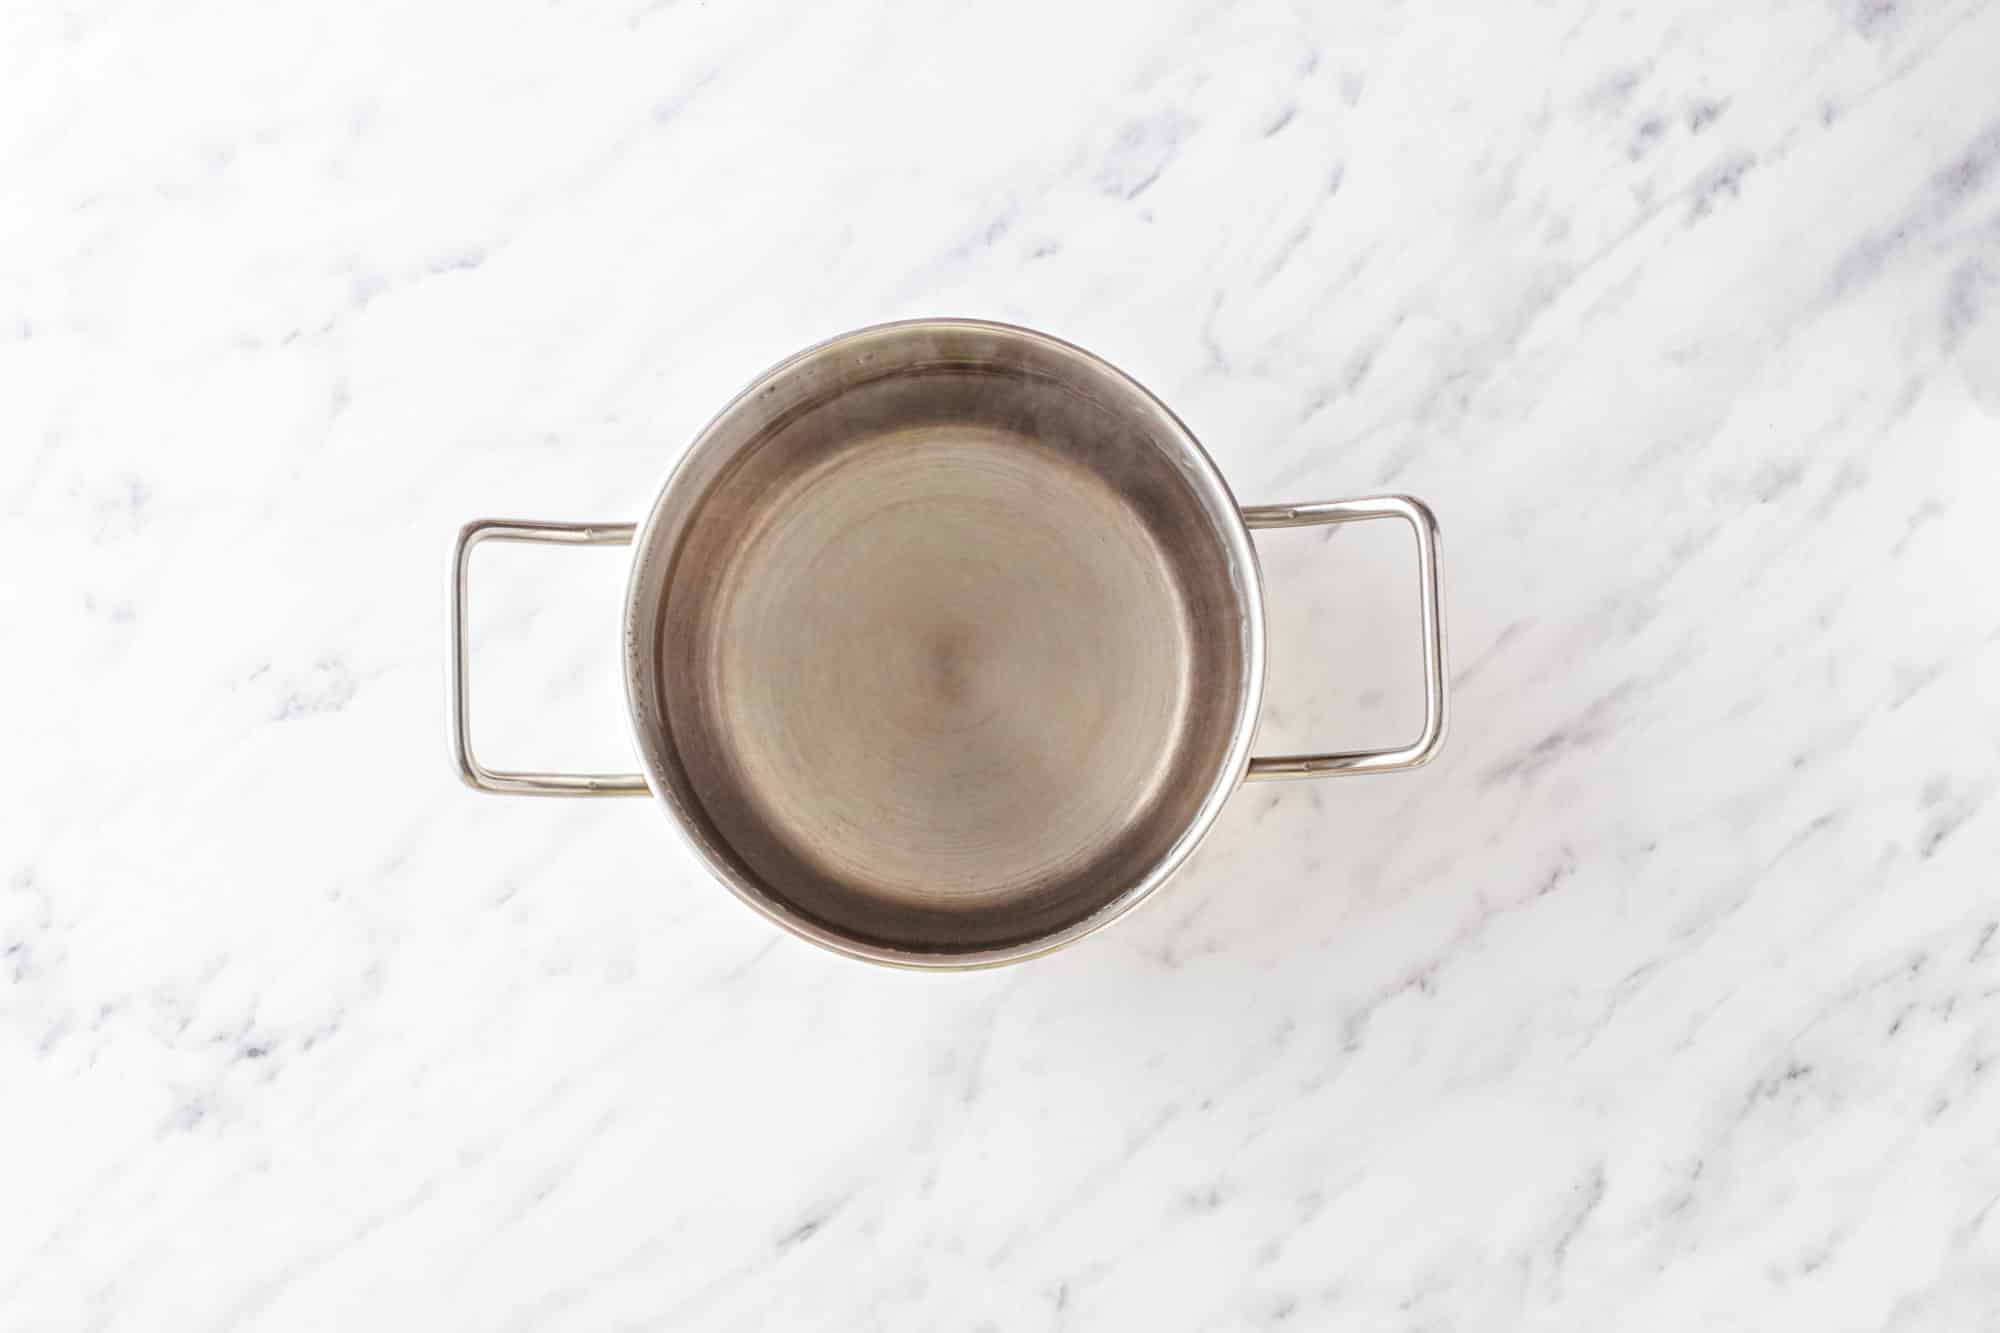
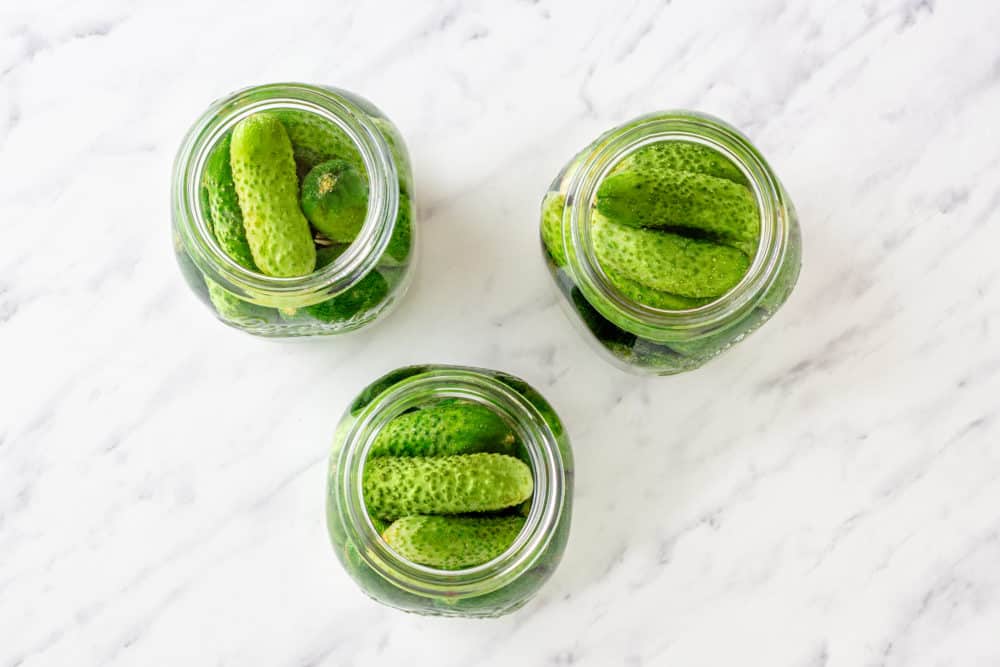
Pour water, vinegar, sugar, and salt into a medium pot. Bring it to a boil and pour this mixture over cucumbers (leave about ½ inch empty at the top).
Step 5: Tighten lids
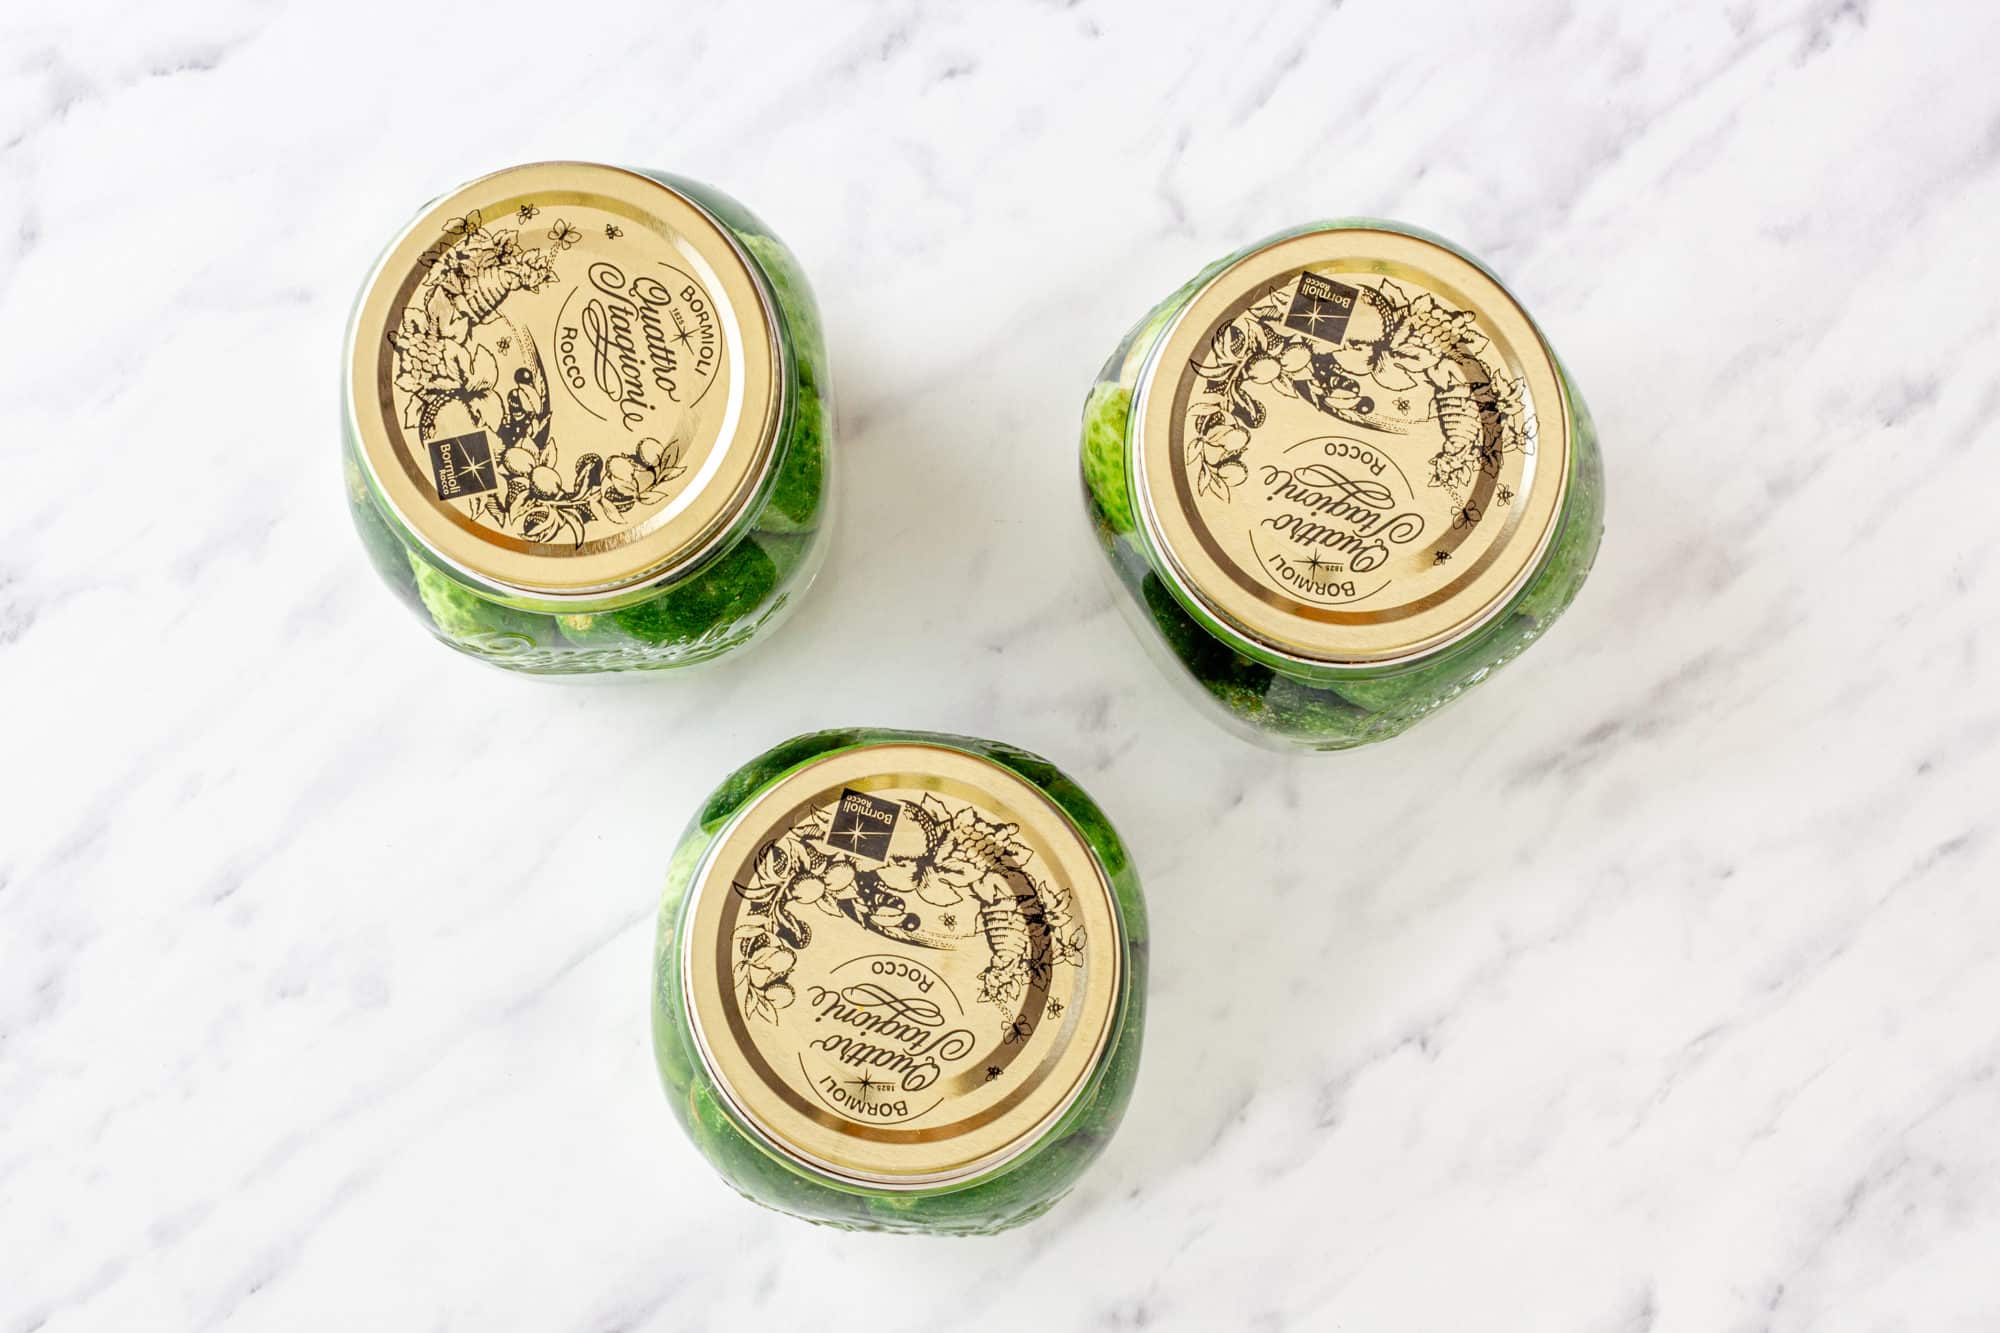
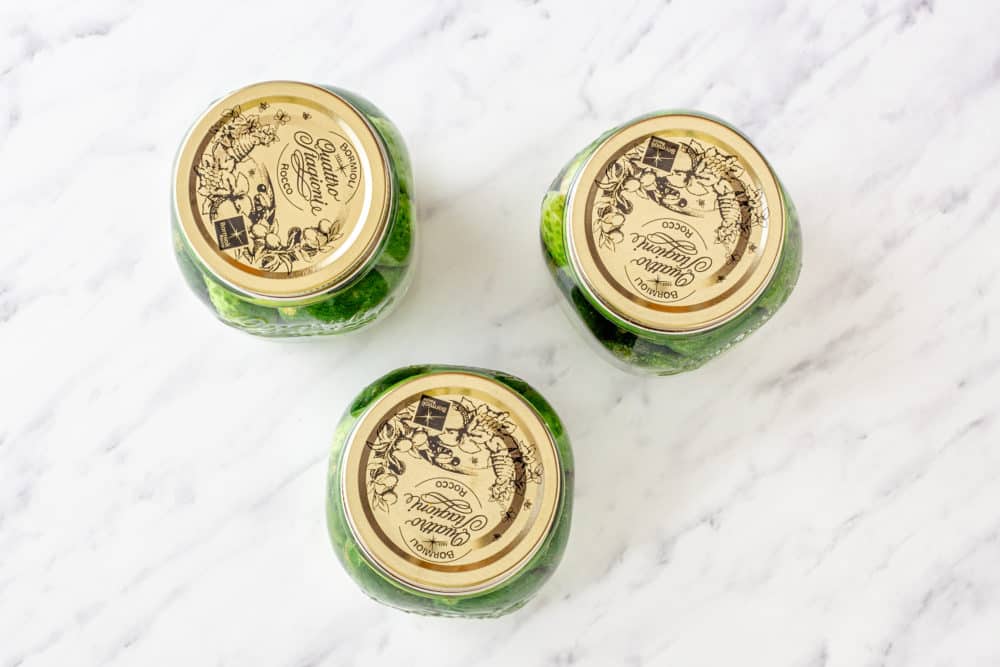
Tighten lids on jars.
Step 6: Boil jars
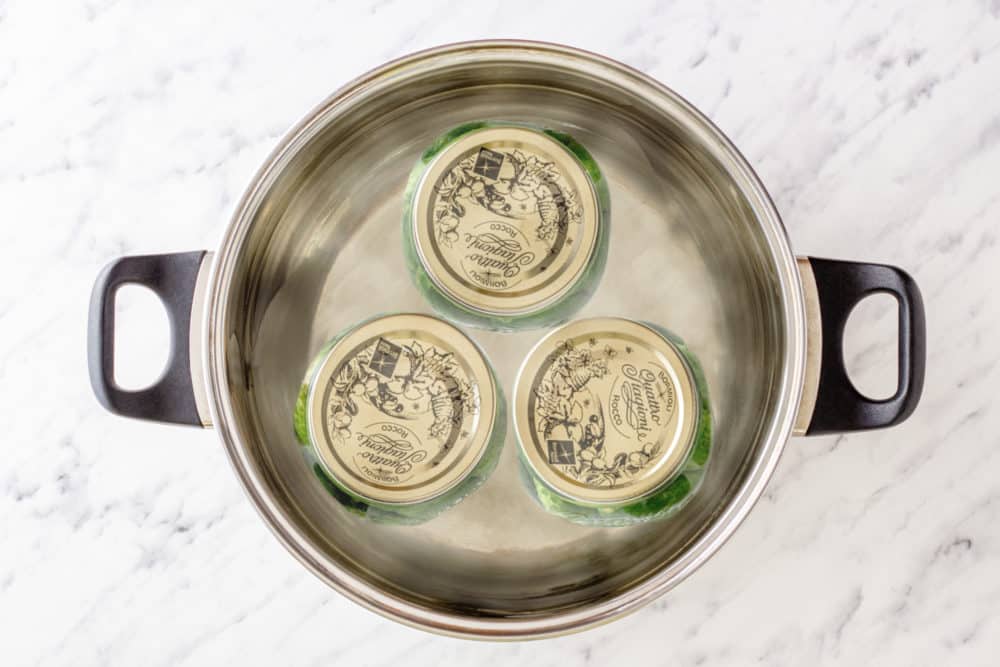
Place jars into a large pot (with a wire rack). Add boiling hot water to cover jars. Boil for 15 minutes.
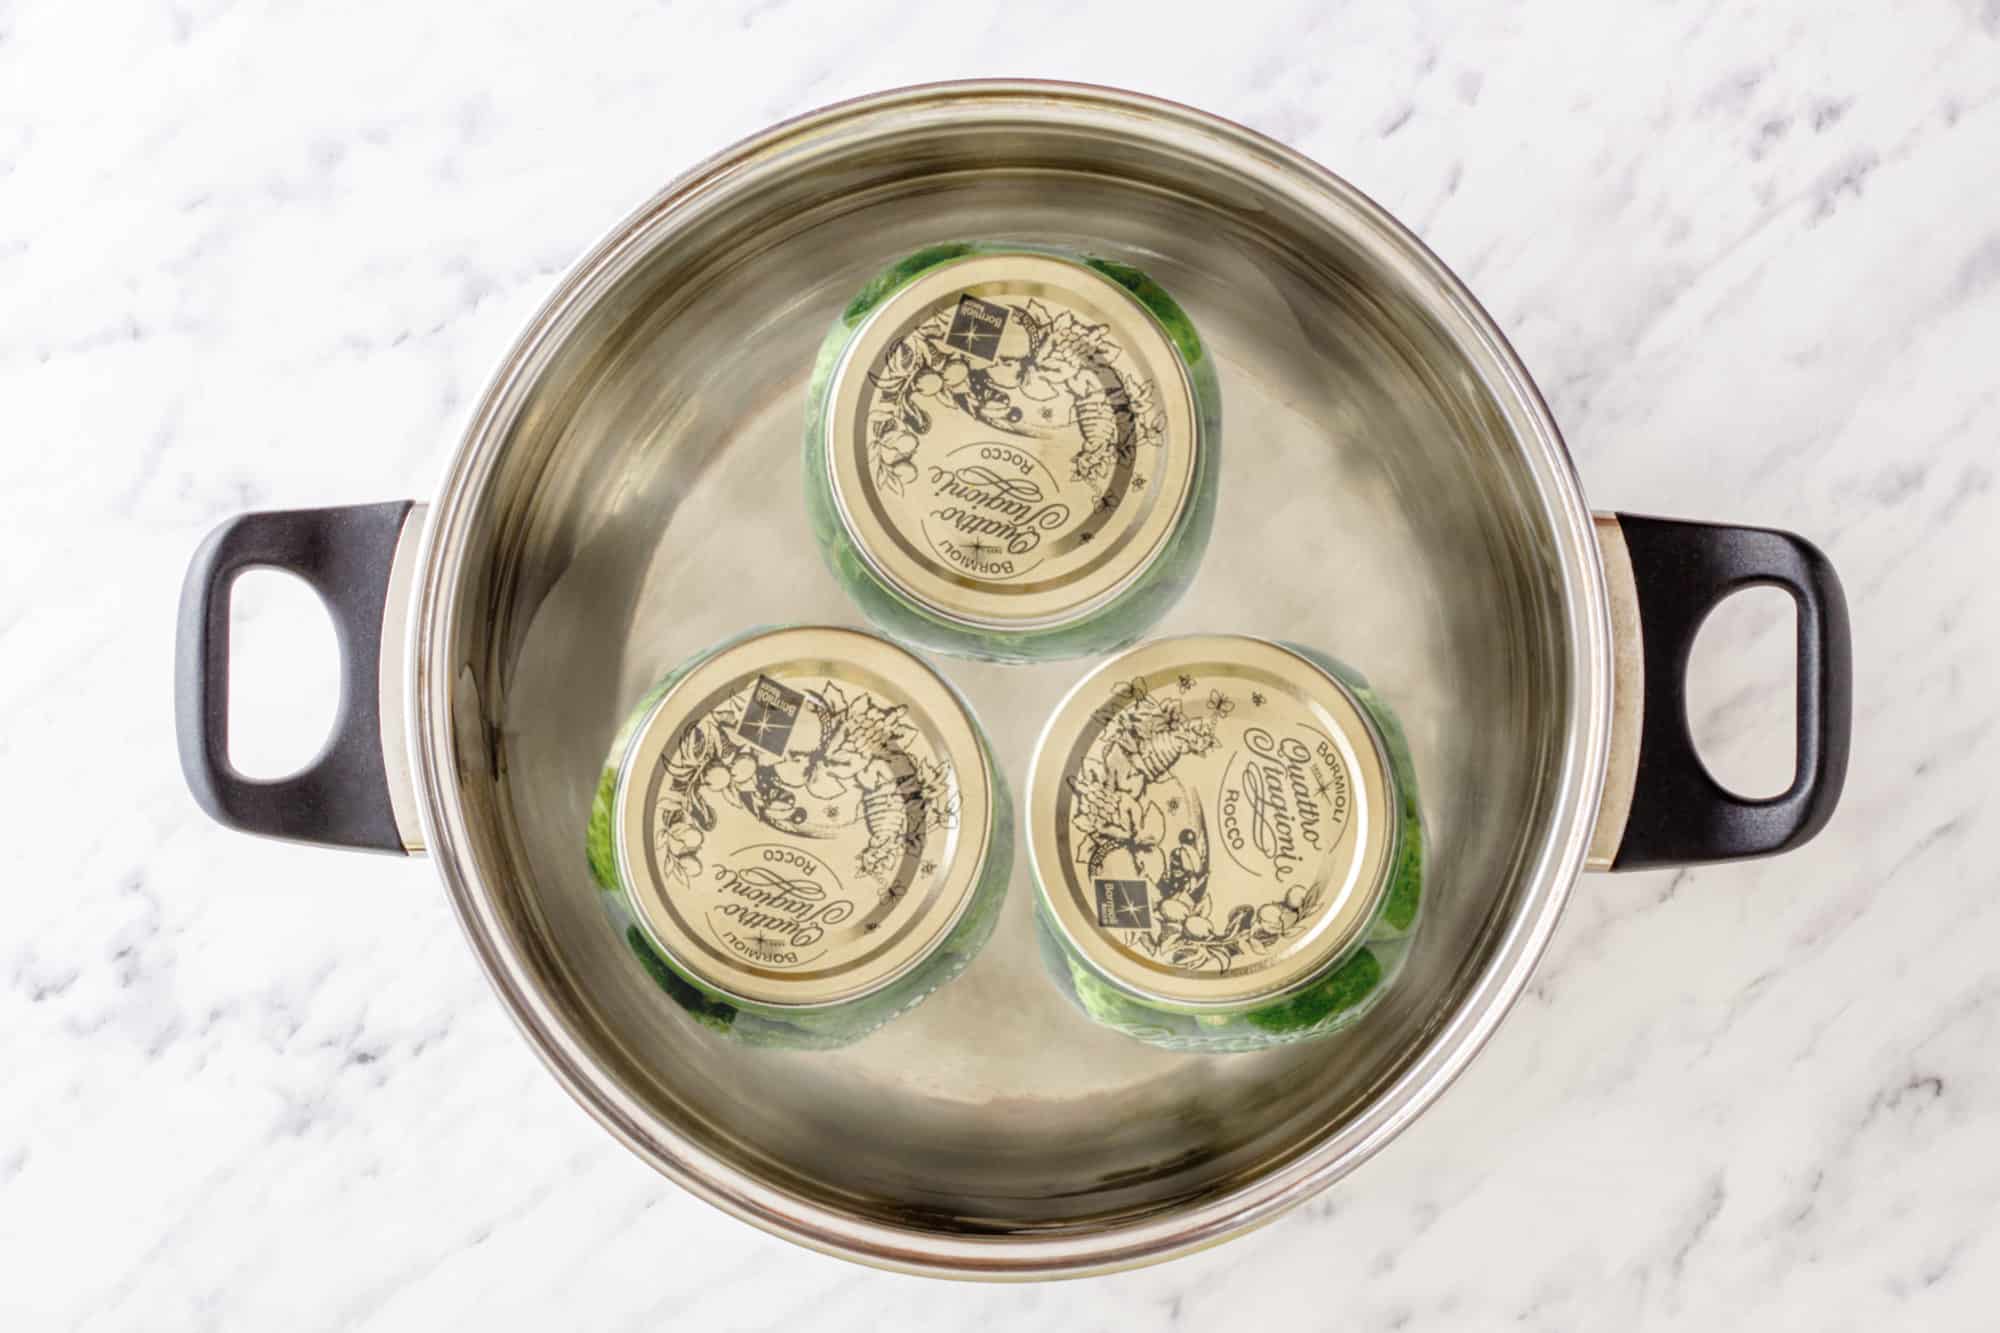
Step 7: Rest
Take the jars out of water. Leave for 24 hours at room temperature.
Expert Tips
- Opt for fresh, firm cucumbers with no soft spots for crisp and crunchy pickles.
- When boiling the jars, make sure water fully covers them to guarantee proper sealing.
- Labeling jars with the canning date helps you keep track of freshness and rotation in your pantry.
- Make pickle spears and store them in small pint jars! They make a perfect side, snack, or starter at the dinner table.
Recipe FAQs
Yes, as long as they’re in good condition, properly sterilized, and have no chips or cracks.
Leaving space ensures a proper vacuum seal and prevents the contents from overflowing during processing.
Absolutely, add red pepper flakes or fresh chili for a spicy kick. Celery seeds or pickling spice make great options, too.

Enjoy more simple home recipes for the whole family:
- This Fresh and Healthy Quinoa Salad has a simple vinaigrette, making it the perfect quick lunch salad.
- Easy Wedge Salad with Dairy-Free Ranch Dressing is a restaurant favorite you can make right at home!
- Make a Healthy Chicken Mushroom Veggie Salad at home with simple, on-hand ingredients.
Other cucumber recipes
If you tried these Canned Dill Pickles or any other recipe on my website, please leave a 🌟 star rating and let me know how you enjoyed it in the📝 comments below. I love hearing from you!
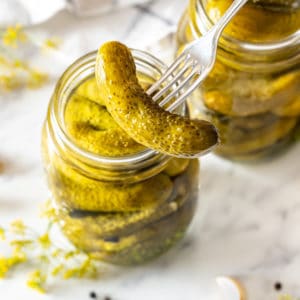
Canned Dill Pickles
Equipment
-
Jars
-
Large pot
Ingredients
- 3 lbs small cucumbers
- 2 tsp peppercorn, 5-7 per jar
- 3 bay leaves, 1 per jar
- 3 dill stems, with flowers, 1 per jar
- 6 cloves garlic, halved, 2 per jar
- 4 cups water
- 3 cups distilled white vinegar, 5%
- 3 Tbsp pickling salt
- 4 Tbsp sugar
Instructions
-
In a large pot, place jars and lids, add water, and bring to a boil. Lower the heat, cover with a lid and simmer for 10 minutes.

-
Divide the bay leaves, peppercorn, garlic cloves, and dill stem and put them on the bottom of 3 jars.2 tsp peppercorn,, 3 bay leaves,, 3 dill stems,, 6 cloves garlic,

-
Place cucumbers into the jars.3 lbs small cucumbers

-
Pour water, vinegar, sugar, and salt into a medium pot. Bring it to a boil and pour this mixture over cucumbers (leave about ½ inch empty at the top).4 cups water, 3 cups distilled white vinegar,, 4 Tbsp sugar, 3 Tbsp pickling salt

-
Tighten lids on jars.

-
Place jars into a large pot (with a wire rack). Add boiling hot water to cover jars. Boil for 15 minutes.

-
Take the jars out of water. Leave for 24 hours at room temperature.

Is the sugar necessary or optional? Just asking 8i have because I have to limit my sugar intake.
If you leave the sugar out completely, it can be too sour. Since the sugar in pickling is used to balance the tartness of the vinegar.